Survive 100 Nights: how the wall, the gate and the towers work together
Survive 100 Nights: cómo trabajan juntas la muralla, la puerta y las torres
Which enemies the wall stops, why the gate is your best spot, the three tower types, and the order to buy your defences.
Qué enemigos frena la muralla, por qué la puerta es tu mejor sitio, los tres tipos de torre y en qué orden comprar tus defensas.
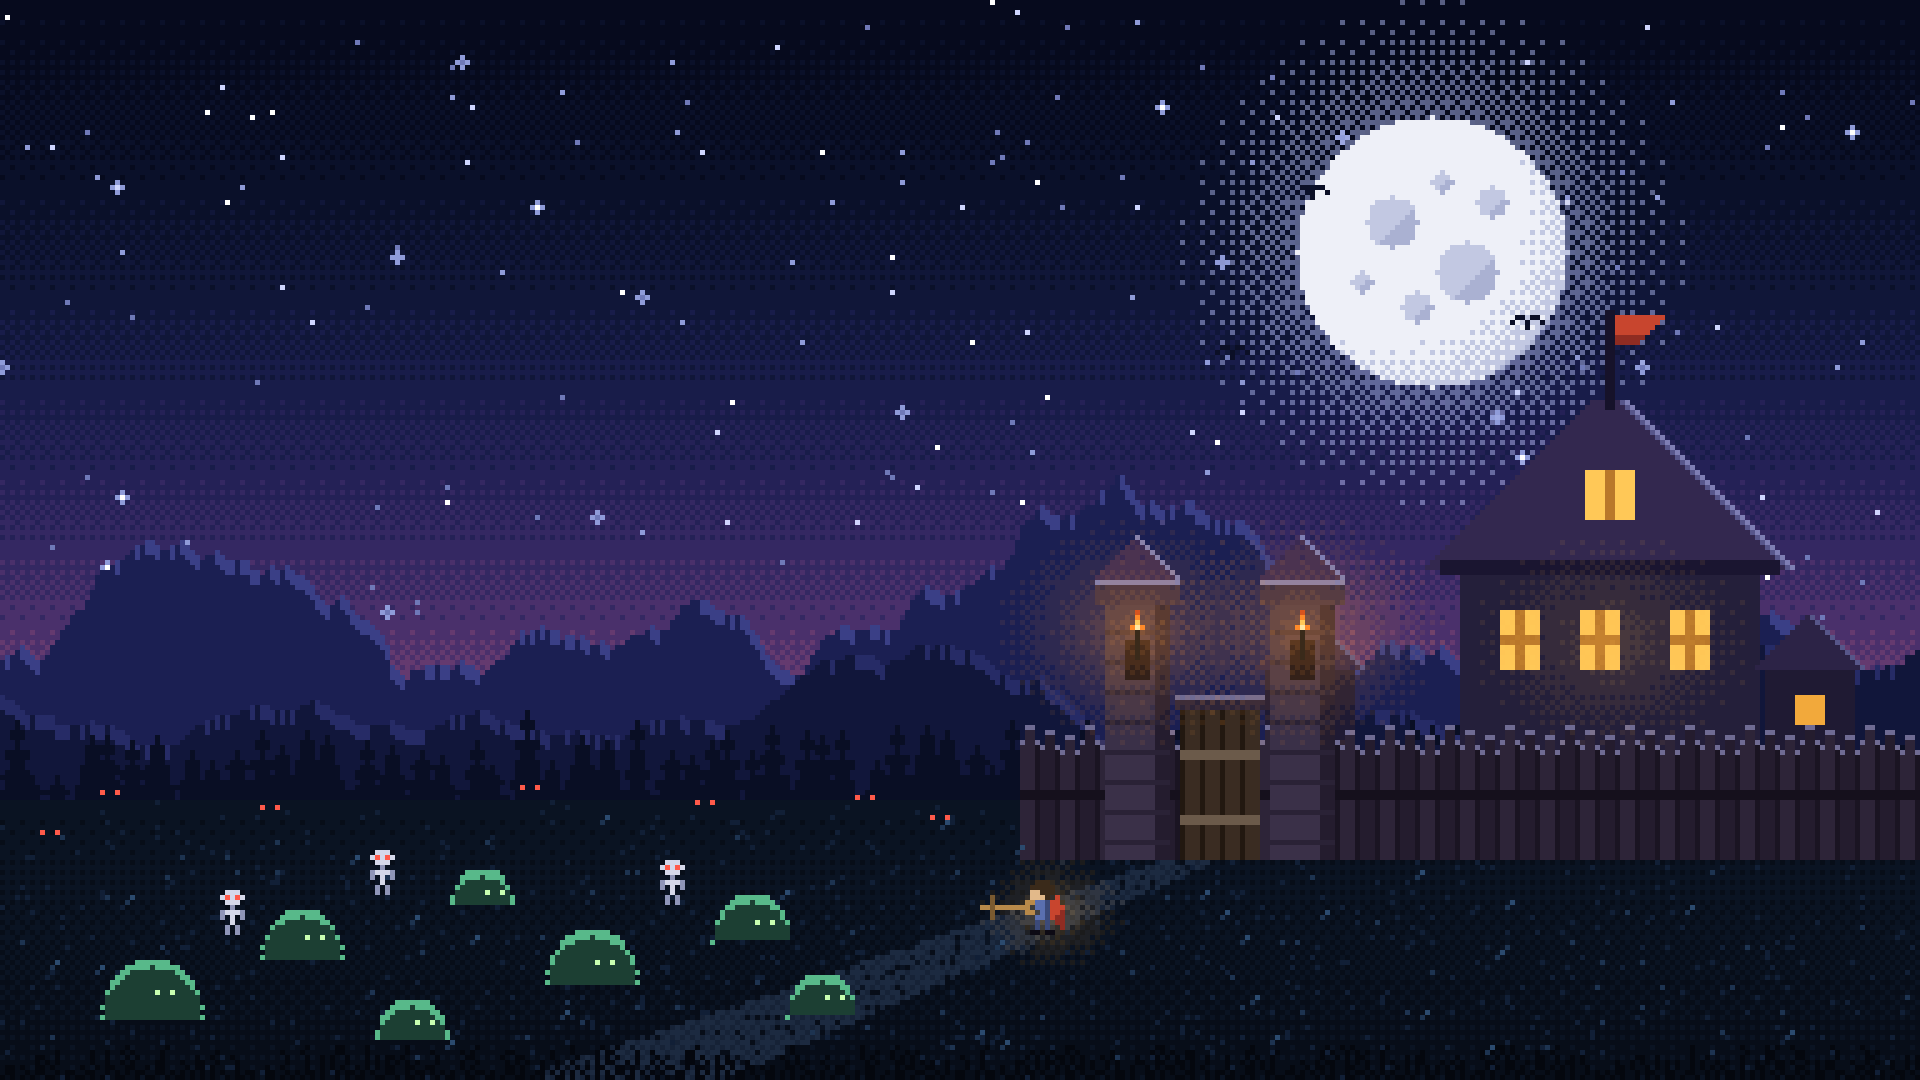
In Survive 100 Nights your defences aren’t separate pieces. The wall decides where enemies go, the gate decides where they stop, and the towers decide how fast they die. Once you see how the three fit together, the nights get a lot calmer. This guide explains each part and the order to buy them.
Two health bars, not one
Before the wall goes up, your base has a single health bar: the Town Hall’s. It starts at 200, and every building in the village shares it. If it reaches zero, the run is over.
Buying Stone Walls at the Town Hall desk adds a second bar. The upgrade raises the Town Hall’s health, and it also builds a wall around the whole village with its own health, twice what that level adds to the hall:
| Stone Walls level | Wall health | What it looks like |
|---|---|---|
| 1 | 120 | Wooden palisade (levels 1–3) |
| 5 | 800 | Stone wall (levels 4–7) |
| 10 | 2,300 | Big stone wall with battlements (levels 8–10) |
Damage that hits the wall comes off the wall, not off the hall. That’s the whole point: the wall soaks up hits that would otherwise end your run.
If the wall’s health runs out, it falls for the rest of the night. It’s rebuilt at sunrise, so a fallen wall costs you one bad night, not the whole run.
Who the wall stops, and who it doesn’t
The wall works differently on each kind of enemy:
| Enemies | What they do at the wall |
|---|---|
| Slimes, Skeletons, Archers | Can’t climb it. They walk round to the gate and batter it |
| Brutes and Exploders | Smash straight into the wall wherever they reach it |
| Bats and Ghosts | Fly over it |
| Gunslingers and other gun enemies | Stay outside and shoot. The wall blocks their bullets and takes the damage |
So the wall turns most of the night into a queue at one door, but it never stops everything. Bats and Ghosts still reach you, and a Ghost always hunts you. Brutes, which first appear on night 11, and Exploders, from night 14, are the ones that wear the wall down fastest.
The gate is the heart of your defence
There is one gate, on the south side of the village. Every walking enemy that can’t get through the wall ends up there, hitting the gate. Those hits come off the wall’s health.
That makes the gate the best place in the game to fight:
- Enemies arrive in a line, from one direction.
- The first two Wall Towers stand right beside it.
- The Spiked Fence upgrade hurts enemies that hit your base, and it bites back double at the gate.
- It’s close enough to the Town Hall that you can step back when you need to.
At night, stand inside the gate and let the queue come to you. If you have healers on night duty, remember they only heal you while you’re within a short distance of the hall, so don’t wander far.
Towers: the hall and the wall
There are two tower upgrades at the desk, and they do different jobs:
- Watchtower makes the Town Hall itself shoot.
- Wall Towers put towers on the wall, up to six in total. The first two go beside the gate, exactly where enemies pile up.
Each Wall Tower can then be turned into one of three kinds:
| Tower | What it does | Good for |
|---|---|---|
| Fire Tower | A burning burst | Enemies bunched up at the gate |
| Frost Tower | Slows enemies by 40% for 1.5 seconds | Holding the queue in place while everything else hits it |
| Ballista | 260% damage, more reach, slower, pierces 2 enemies | Tough single targets and enemies lined up in a row |
A mix usually works better than three of the same. Slowing the queue at the gate means the fire and the ballista bolts have more time to land.
Two abilities make towers and walls even stronger, if a card offers them: Tower Captain (Legendary) makes your towers stronger and faster, and Builder’s Blessing (Epic) makes the base and the wall repair themselves.
Keeping the wall standing
The longer the wall lasts each night, the less damage reaches the hall. You have three ways to repair it:
- Masons, a Town Hall upgrade, repair it constantly, at night too.
- Menders, a night job for your villagers, repair it at 2 health per second each.
- Builder’s Blessing, if you’re lucky with your level-up cards.
Menders cost you nothing but a villager’s night, so they’re a good use of workers who would otherwise just run home.
What to buy, and in what order
All 16 Town Hall upgrades go to level 10, and levels 6 to 10 cost about four times as much as level 5. That makes it worth spreading your spending rather than maxing one upgrade early. A good order:
- Stone Walls as soon as you can afford it. Nothing else changes a night as much.
- Wall Towers, for the two towers by the gate.
- Spiked Fence, so every hit on the gate costs the attacker.
- Masons, so the wall heals between waves.
- More Stone Walls levels before night 11, when Brutes start smashing the wall.
- More Wall Towers, then choose a type for each one.
- Watchtower, for a last line of fire around the hall itself.
Bosses and the wall
The mini-bosses that walk stay outside your wall, and the wall blocks their bullets until it falls. That’s one more reason to have plenty of wall health by night 10. The two flying ones, the Bat Queen on night 30 and The All-Seeing Eye on night 90, ignore it and come straight for you, as does the Eclipse Lord on night 100. The weapons and bosses guide covers each of them.
Quick summary
- The wall has its own health and shields the Town Hall. If it falls, it’s back at sunrise.
- Walking enemies queue at the single south gate. Fight there.
- Brutes and Exploders break the wall; Bats and Ghosts fly over it.
- Put Fire, Frost and Ballista towers together rather than three of one kind.
- Repair with Masons and menders, and spread your upgrade levels.
New to the game? Start with the beginner’s guide, or jump straight into a run on the Survive 100 Nights page.
En Survive 100 Nights tus defensas no son piezas sueltas. La muralla decide por dónde van los enemigos, la puerta decide dónde se paran y las torres deciden lo rápido que caen. Cuando entiendes cómo encajan las tres, las noches se vuelven mucho más tranquilas. Esta guía explica cada parte y en qué orden comprarlas.
Dos barras de vida, no una
Antes de levantar la muralla, tu base tiene una sola barra de vida: la del ayuntamiento. Empieza en 200 y todos los edificios de la aldea la comparten. Si llega a cero, se acaba la partida.
Comprar Murallas de piedra en el escritorio del ayuntamiento añade una segunda barra. La mejora sube la vida del ayuntamiento y, además, levanta una muralla alrededor de toda la aldea con vida propia: el doble de lo que ese nivel le suma al ayuntamiento.
| Nivel de Murallas de piedra | Vida de la muralla | Aspecto |
|---|---|---|
| 1 | 120 | Empalizada de madera (niveles 1–3) |
| 5 | 800 | Muralla de piedra (niveles 4–7) |
| 10 | 2.300 | Gran muralla de piedra con almenas (niveles 8–10) |
El daño que recibe la muralla se lo resta la muralla, no el ayuntamiento. De eso se trata: la muralla se come los golpes que, si no, acabarían con tu partida.
Si la muralla se queda sin vida, cae durante el resto de la noche. Se reconstruye al amanecer, así que perderla te cuesta una mala noche, no la partida entera.
A quién frena la muralla y a quién no
La muralla funciona de forma distinta con cada tipo de enemigo:
| Enemigos | Qué hacen ante la muralla |
|---|---|
| Limos, Esqueletos, Arqueros | No pueden trepar. La rodean hasta la puerta y la golpean |
| Brutos y Explosivos | Se lanzan contra la muralla allí donde llegan |
| Murciélagos y Fantasmas | Pasan volando por encima |
| Pistoleros y otros enemigos con armas de fuego | Se quedan fuera y disparan. La muralla para sus balas y se lleva el daño |
Así que la muralla convierte casi toda la noche en una cola delante de una sola puerta, pero nunca lo para todo. Los murciélagos y los fantasmas siguen llegando hasta ti, y un fantasma siempre va a por ti. Los Brutos, que aparecen por primera vez en la noche 11, y los Explosivos, desde la noche 14, son los que más rápido desgastan la muralla.
La puerta es el centro de tu defensa
Hay una sola puerta, en el lado sur de la aldea. Todos los enemigos que caminan y no pueden atravesar la muralla acaban allí, golpeándola. Esos golpes se restan de la vida de la muralla.
Por eso la puerta es el mejor sitio del juego para luchar:
- Los enemigos llegan en fila y desde una sola dirección.
- Las dos primeras Torres de muralla están justo a sus lados.
- La mejora Valla de pinchos hace daño a los enemigos que golpean tu base, y en la puerta hace el doble.
- Está lo bastante cerca del ayuntamiento como para retroceder cuando lo necesites.
De noche, colócate por dentro de la puerta y deja que la cola venga a ti. Si tienes sanadores en el turno de noche, recuerda que solo te curan mientras estás cerca del ayuntamiento, así que no te alejes demasiado.
Torres: la del ayuntamiento y las de la muralla
En el escritorio hay dos mejoras de torres, y cada una hace un trabajo distinto:
- Atalaya hace que el propio ayuntamiento dispare.
- Torres de muralla pone torres sobre la muralla, hasta seis en total. Las dos primeras van junto a la puerta, justo donde se amontonan los enemigos.
Después, cada torre de muralla puede convertirse en uno de estos tres tipos:
| Torre | Qué hace | Ideal para |
|---|---|---|
| Torre de fuego | Una ráfaga que quema | Enemigos amontonados en la puerta |
| Torre de escarcha | Ralentiza a los enemigos un 40% durante 1,5 segundos | Mantener la cola quieta mientras todo lo demás le da |
| Balista | 260% de daño, más alcance, más lenta, atraviesa 2 enemigos | Enemigos duros y enemigos en fila |
Suele funcionar mejor mezclarlas que tener tres iguales. Si la cola de la puerta va más lenta, el fuego y los virotes de la balista tienen más tiempo para acertar.
Hay dos habilidades que refuerzan aún más torres y muralla, si te salen en una carta: Capitán de torres (Legendaria) hace tus torres más fuertes y rápidas, y Bendición del constructor (Épica) hace que la base y la muralla se reparen solas.
Cómo mantener la muralla en pie
Cuanto más aguanta la muralla cada noche, menos daño llega al ayuntamiento. Tienes tres formas de repararla:
- Los Albañiles, una mejora del ayuntamiento, la reparan sin parar, también de noche.
- Los reparadores, un trabajo nocturno para tus aldeanos, la arreglan a 2 de vida por segundo cada uno.
- La Bendición del constructor, si tienes suerte con las cartas al subir de nivel.
Los reparadores solo te cuestan la noche de un aldeano, así que son un buen destino para trabajadores que, si no, simplemente correrían a casa.
Qué comprar y en qué orden
Las 16 mejoras del ayuntamiento llegan hasta el nivel 10, y los niveles del 6 al 10 cuestan unas cuatro veces lo que el nivel 5. Por eso compensa repartir el gasto en lugar de subir una sola mejora al máximo muy pronto. Un buen orden:
- Murallas de piedra en cuanto te lo puedas permitir. Nada cambia tanto una noche.
- Torres de muralla, para tener las dos torres de la puerta.
- Valla de pinchos, para que cada golpe a la puerta le cueste caro al atacante.
- Albañiles, para que la muralla se recupere entre oleadas.
- Más niveles de Murallas de piedra antes de la noche 11, cuando los Brutos empiezan a romperla.
- Más Torres de muralla, y elige un tipo para cada una.
- Atalaya, como última línea de fuego alrededor del propio ayuntamiento.
Los jefes y la muralla
Los minijefes que caminan se quedan fuera de la muralla, y la muralla para sus balas hasta que cae. Otro motivo para llegar a la noche 10 con bastante vida en la muralla. Los dos que vuelan, la Reina Murciélago en la noche 30 y El Ojo que Todo lo Ve en la noche 90, la ignoran y van directos a por ti, igual que el Señor del Eclipse en la noche 100. La guía de armas y jefes los explica uno a uno.
Resumen rápido
- La muralla tiene vida propia y protege el ayuntamiento. Si cae, vuelve al amanecer.
- Los enemigos que caminan hacen cola en la única puerta, al sur. Lucha ahí.
- Los Brutos y los Explosivos rompen la muralla; los murciélagos y los fantasmas la sobrevuelan.
- Combina torres de fuego, de escarcha y balistas en lugar de tres del mismo tipo.
- Repara con Albañiles y reparadores, y reparte los niveles de las mejoras.
¿Acabas de empezar? Lee primero la guía para principiantes, o lánzate directamente a una partida desde la página de Survive 100 Nights.
Keep reading
Survive 100 Nights: a beginner’s guide to your first ten nightsSurvive 100 Nights: guía para principiantes de tus diez primeras noches
How a run works, what to build on day one, how villagers and the wall work, and ten tips to reach your first boss.Cómo funciona una partida, qué construir el primer día, cómo funcionan los aldeanos y la muralla, y diez consejos para llegar a tu primer jefe.
 Survive 100 Nights: every weapon, mini-boss and night eventSurvive 100 Nights: todas las armas, minijefes y eventos nocturnos
The 15 weapons and who sells them, the nine mini-bosses and their nights, the night events, and what waits on night 100.Las 15 armas y quién las vende, los nueve minijefes y sus noches, los eventos nocturnos y lo que espera en la noche 100.
 Grandma Is Hungry: where development standsGrandma Is Hungry: así va el desarrollo
What’s already in the game, what’s changing now, and what comes next on the way to Steam.Lo que ya tiene el juego, lo que está cambiando ahora y lo que viene en el camino hacia Steam.